
Acrylic Pouring - with Joan Whitmore, January 3
|
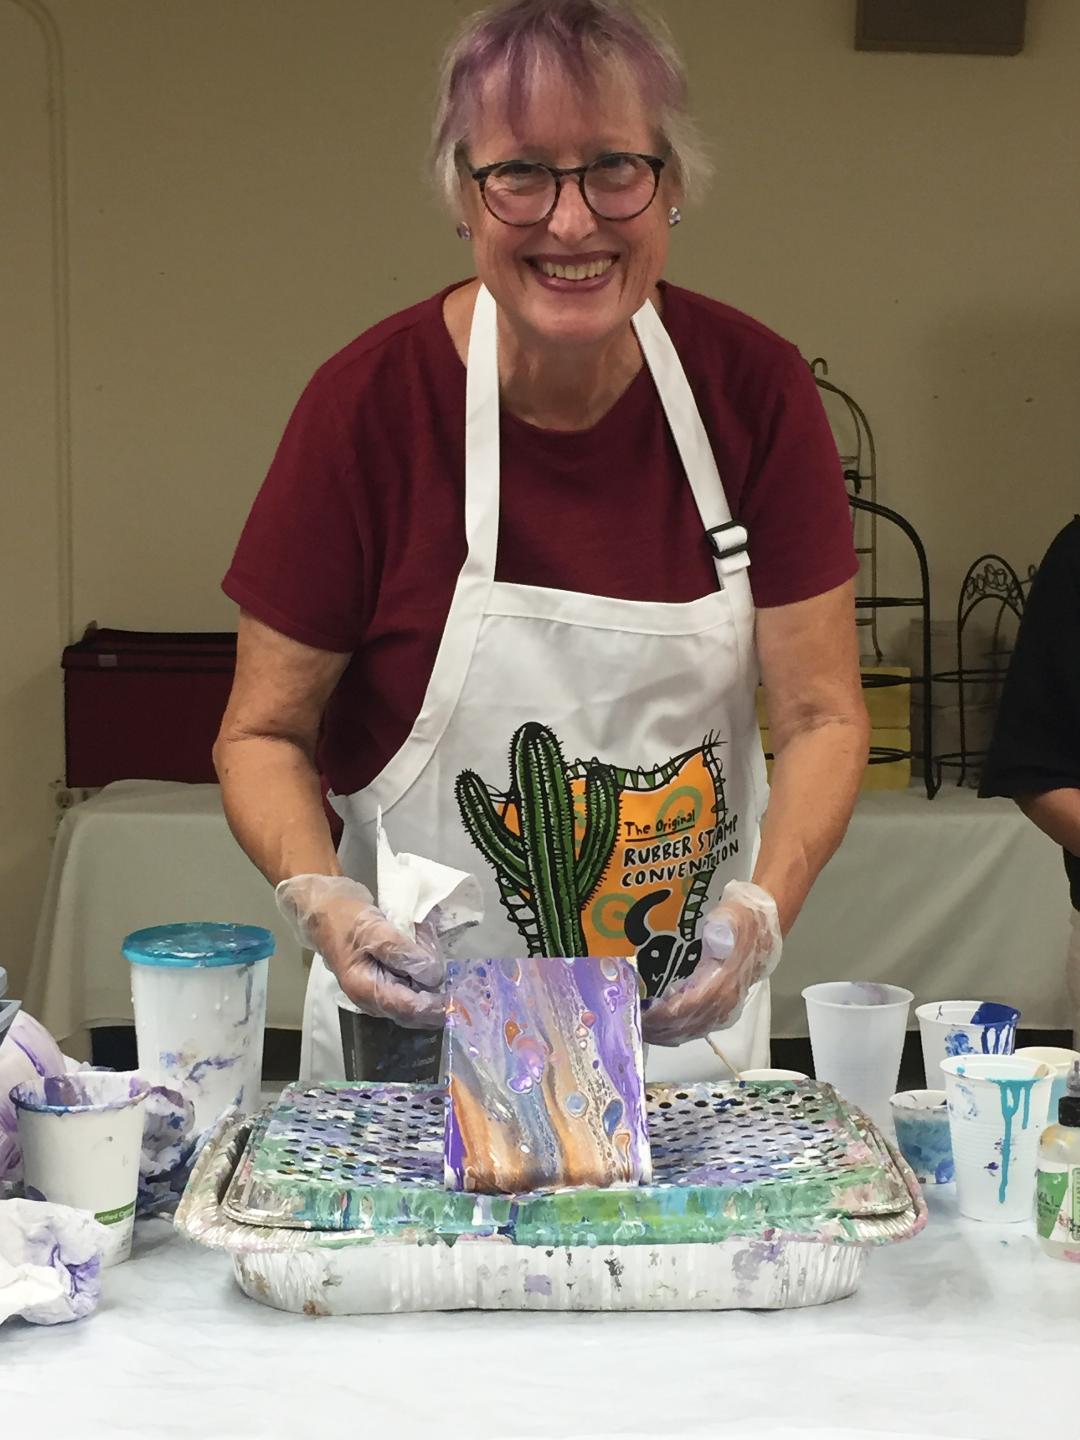
What isn’t fun about watching paint get poured, swirled, swiped, layered, flipped and tilted? Joan Whitmore’s demo was fun, looked messy (wear gloves!), and made pouring look easy, a little daunting, interesting, and offered lots of options. As she pointed out, there are lots of YouTube videos out there to watch for pointers and more details.
Using some of the cheaper craft kind of paints from local stores, she mixed Flood Floetrol with each color in a cup to a consistency that would drip, but not too fast. It’s important to have the paints at the same thickness/consistency so one would not run more than another. She always prepped the canvas with white paint first. First was a puddle pour—simply took a cup with one color and poured a little on the canvas, then picked up another color and poured some; and repeat til she had mostly covered the canvas with dots and circles. She then tilted the canvas so the paint would run to the edges and cover the sides. With an added touch up here or there to encourage the paint to cover all of the canvas, it was done. 2nd was the “swipe” method. She poured the paints in a stripe pattern across the canvas (at left), leaving a bit of white space between the stripes. She then took a damp paper towel and drew it down the canvas, and after some thought, drew the towel back over the canvas from the opposite direction. She had added silicone to the paints which developed interesting “cell” activity patterns as it settled and dried—Cool! Third came a dirty poor, flip cup. She kind of layered paints in the cup to about half full. Put the cup on the canvas, and let it set a bit, then lifted up the cup. Tilt…touch up… another fun one. Lastly she poured rings of paint, which bumped up against each other. The several blobs when tilted made an interesting pattern. Are you ready to grab some gloves, cups and paints and go experiment? |